HOW TO INSTALL XPOSED FRAMEWORK FOR ANDROID 5.0+ (NOOB FRIENDLY)

Hey guys,
So today I’ll be showing you how to install Xposed Framework on your android device running Lollipop or Marshmallow!
OK, now some of you might be wondering what really is Xposed. Well, here is what the developer who created it says:
“Xposed framework, which gives you the possibility to modify your ROM – without modifying any APK (developers) or flashing (users)!”
Some Advantages:
- No need to modify any APKs. This means:
- No need to decompile, change things in smali, compile, sign, …
- It will work for odexed and deodexed ROMs.
- Your mod is not bound to a specific version of the ROM. Unless there is a major change in the methods called for a certain functionality, your mod will continue to work even when you upgrade your ROM. Many modules work for a wide range of ROMs from different vendors.
- Multiple mods can be installed at the same time, even if they modify the same app. So you can use these battery icons and those quick toggles. Even hooking the same method twice is possible. Of course, this only works properly if the mods are not trying to do incompatible things.
- It does its magic at runtime. That means that developers can implement settings and do changes based on them (instead of statically forcing a certain behavior). Or you can have some extra logic for certain ROMs, without building different mod versions.
- It can be disabled easily without having to reflash.
- It’s open source and free (as in beer and in speech).
- There is a repository with many popular modules.
In simple words, its a simple yet powerful tool which helps in modifying your system, which includes UI, Audio effects, Camera enhancements etc (to name a few, there’s a lot more it can do with the correct modules)
OK, so how do we install it?
INSTALLATION
- Download the Xposed Installer App – This is required to control the modules. Get it from here
- Install the apk.
- Open it, its pretty much useless right now.
- Now go to Framework download page
- Android 5.0 is SDK21
- Android 5.1 is SDK22
- Android 6.0 is SDK23
- Select the folder based on the android version you are running
- Now proceed as per your device’s hardware
- ARM, if your processor is ARM based
- ARM64, if you have an ARM 64 bit processor
- X86, if you have an Intel processor
- Download the latest version, eg: (xposed-v81-sdk23-arm64.zip)
- Download the uninstaller from the first page (Just in case..)
That’s it.. Now we’re nearly done…
Now one important thing – Go to settings, about, and see what Status SELinux is in. If its Permissive, then go ahead, everything is fine.
If its on enforcing, then a little more work has to be done.
- Download and install a kernel which has SELinux on Permissive
- Else, an easier way is to download this app – SELinux Mode Changer – It gets things done in just a touch – Get it from Mediafire
Now hold your breath and reboot to recovery. Once in recovery, taking a Nandroid backup is recommended (just in case..). After the Nandroid, select Install, and navigate to the Xposed zip file and FLASH!
If everything went well, then you will boot successfully to your lock screen…
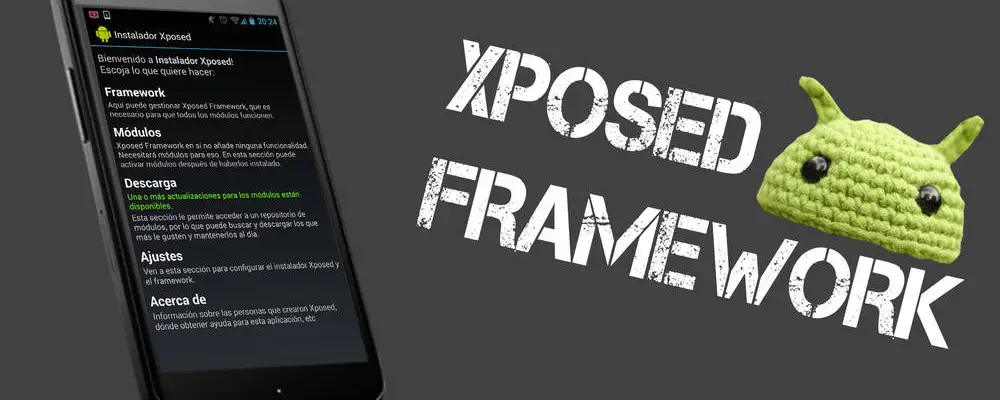
Upon successful installation open your Xposed app, it should be similiar like this


In case of a boot loop, don’t panic. There might be multiple reasons, maybe because you didn’t follow this properly (I guess that won’t be the reason most of the time, haha), or maybe your ROM just doesn’t support it.. Also, Stock ROMs have more issues with boot loop due to the security OEMs add these days.
In case of a boot loop, just go back to recovery and restore the Nandroid you took earlier, else you can run the uninstaller which you downloaded.
If still your boot loop isn’t fixed (that wont happen), you can refer my friend Fauzan’s guide Don’t Panic ! Things To Do When Phone Is Bootlooping!
That’s it people, enjoying tinkering with your newly found freedom for your android device :)